Easy Cranberry Pistachio Cheese Log Recipe
This Easy Cranberry Pistachio Cheese Log is my go-to appetizer, especially when the holidays roll around. It’s the kind of dish that practically assembles itself, looks absolutely stunning on any cheese board, and tastes like a dream. The bright, tart pop from the fresh cranberries, combined with the satisfying crunch of salty pistachios and the rich, tangy goat cheese mixture, makes this a winner every single time. It’s a simple yet elegant appetizer that’s guaranteed to be the first thing to disappear from your party spread. Guests always ask for the recipe because it’s so easy to make and so incredibly delicious. You’ll love having this festive cheese log ready to go for unexpected guests or planned gatherings.
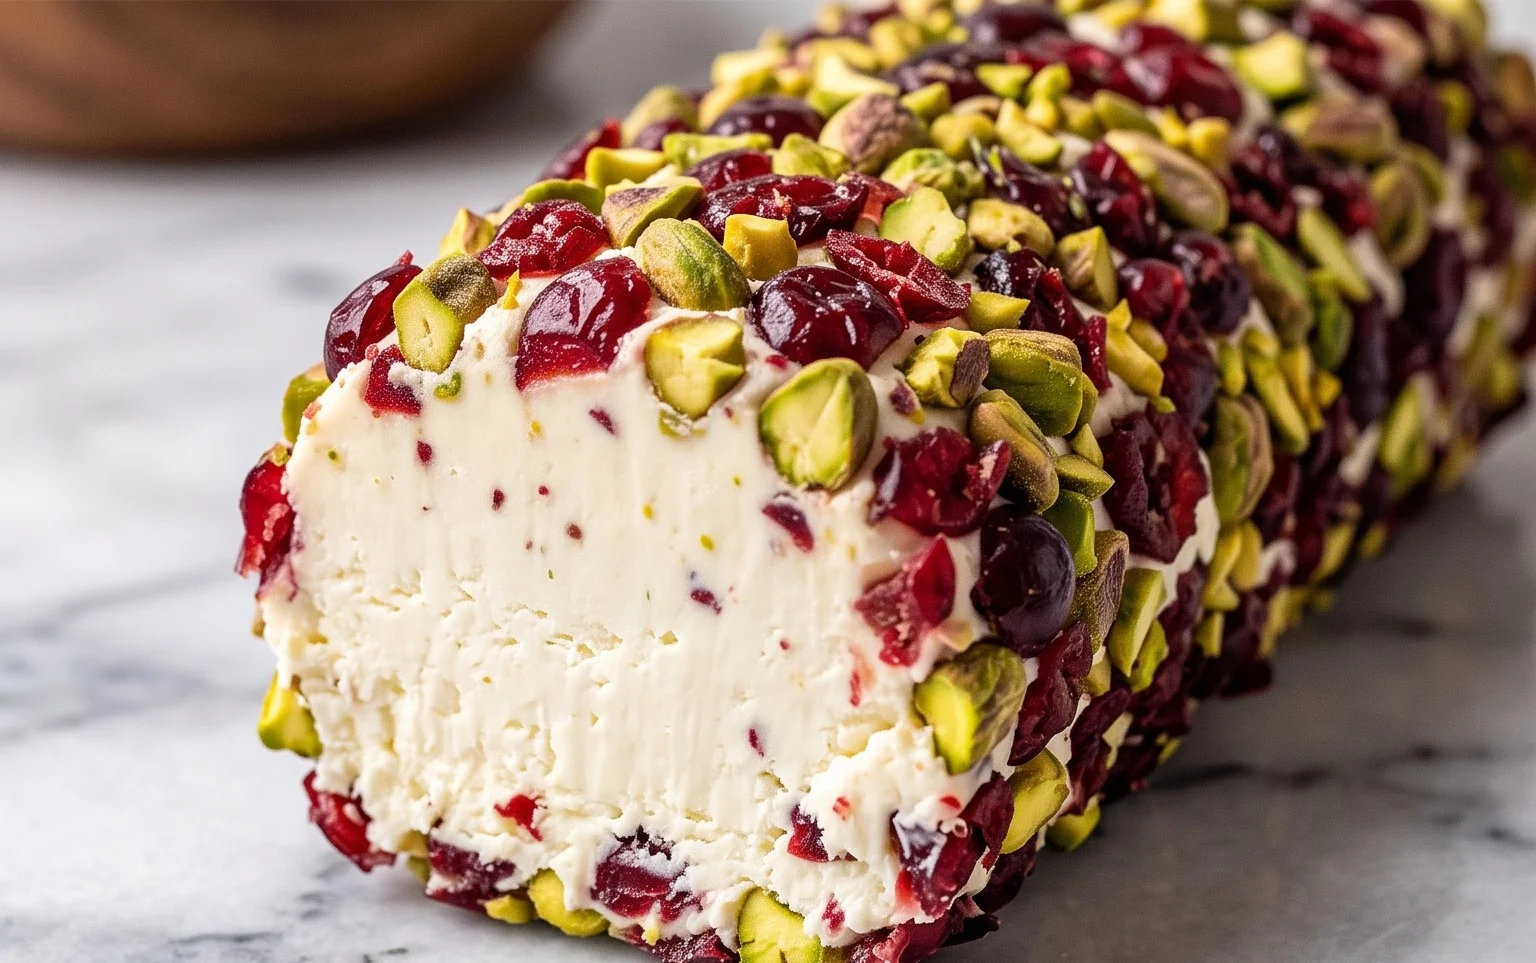
Easy Cranberry Pistachio Cheese Log
This cheese log is a holiday go-to for me. It’s incredibly simple to assemble, looks festive on any cheese board, and tastes fantastic. The tartness of the cranberries, the crunch of the pistachios, and the creamy, tangy cheese make it a real winner. It’s the kind of appetizer that disappears quickly, and people will be asking for the recipe.
Ingredients:
- 1 1/4 cups fresh cranberries
- 1 cup shelled roasted, salted pistachios
- 7-8 oz. goat cheese log or tub
- 4 oz. cream cheese, softened
- 2 tablespoons honey
- 1/4 tsp ground ginger
- 1/4 tsp ground cinnamon
- 1/4 tsp salt
- 1/4 tsp dried thyme
- 1/4 tsp dried rosemary
- 1/8 teaspoon pepper
- 1/2 cup Cranberry Pistachio Coating mixture (prepared as described in the instructions)
- Honey, for drizzling (optional)
Instructions:
Prepare the Cranberry Pistachio Coating
The first step is to get our coating ready. This is what will give the cheese log its beautiful look and delicious outer layer. I like to make this mixture first so it’s all ready to go when the cheese is prepared. Take your 1 1/4 cups of fresh cranberries and give them a quick rinse under cool water and pat them dry thoroughly with a paper towel. Moisture is the enemy here; we don’t want any excess water affecting the texture of our coating. Next, place these dried cranberries into a food processor. Pulse them a few times until they are finely chopped, but not pureed into a paste. We want some texture, so avoid over-processing. In a separate bowl, take your 1 cup of shelled roasted, salted pistachios. If they are whole, give them a rough chop. You can do this by hand with a sharp knife on a cutting board, or pulse them gently in the food processor a few times after you’ve removed the cranberries. You’re aiming for a mix of smaller pieces and some larger, satisfyingly crunchy bits. Now, combine the chopped cranberries and chopped pistachios in a medium bowl. Add the 1/4 teaspoon each of ground ginger, ground cinnamon, salt, dried thyme, and dried rosemary, along with the 1/8 teaspoon of pepper. Stir everything together very well until all the spices and nuts are evenly distributed throughout the cranberry mixture. This aromatic blend is what will give our cheese log its wonderful festive flavor. Set this bowl aside.
Mix the Cheeses and Seasonings
Now for the creamy, delicious base of our cheese log. In a medium mixing bowl, combine your 7-8 oz. goat cheese log (make sure it’s at room temperature so it’s soft and easy to work with, or use a tub of goat cheese) and the 4 oz. of softened cream cheese. Softened cream cheese is key here; if it’s too cold, you’ll have lumps. You can leave the goat cheese log whole or crumble it into the bowl. Add the 2 tablespoons of honey to the cheese mixture. This honey adds a touch of sweetness that perfectly balances the tanginess of the goat cheese and the saltiness of the pistachios. Using an electric mixer (a hand mixer or a stand mixer with the paddle attachment works best) or a sturdy spatula, beat the goat cheese and cream cheese together until they are smooth and well combined. Make sure to scrape down the sides of the bowl a few times to ensure everything is incorporated evenly. The consistency should be light, airy, and completely lump-free. Don’t rush this step; a well-mixed cheese base will result in a much smoother, more pleasant texture for your cheese log.
Shape the Cheese Log
Once your cheese mixture is smooth and creamy, it’s time to shape it. Lay out a piece of plastic wrap on a clean, flat surface, about 12 inches long. Spoon the cheese mixture onto the center of the plastic wrap. Using your hands or a spatula, gently shape the cheese mixture into a log. It doesn’t need to be perfectly cylindrical; a rustic log shape is perfectly fine. You can aim for a length of about 6-7 inches. Once you have the desired shape, carefully wrap the plastic wrap tightly around the cheese log, twisting the ends to secure it. This will help it hold its shape in the refrigerator. Place the wrapped cheese log in the refrigerator for at least 1 hour, or until it is firm. This chilling time is essential. It makes the log much easier to handle and coat without it falling apart. The firmer the log, the cleaner your coating will adhere.
Coat the Cheese Log
After the cheese log has chilled and firmed up, it’s time for the best part – coating it! Remove the plastic wrap from the chilled cheese log. You should have a firm, cohesive log. Pour the prepared Cranberry Pistachio Coating mixture onto a plate or shallow dish. Gently roll the cheese log in the coating mixture, pressing lightly with your hands to ensure the nuts and cranberries adhere all around the log. Cover it as evenly as possible. If you find that some spots are a bit bare, you can take small handfuls of the coating mixture and press them onto those areas. You want a good, generous coating that covers the entire surface. Don’t worry if a few bits fall off; you can always press them back on.
Chill and Serve
Once the cheese log is beautifully coated, you have a couple of options. You can serve it immediately if you’re short on time, but I highly recommend chilling it again. Carefully place the coated cheese log back onto a clean piece of plastic wrap, or onto a serving platter lined with parchment paper if you are ready to serve it. Return it to the refrigerator for at least another 30 minutes. This second chill helps the coating set and meld with the cheese, preventing it from falling off when guests start digging in. When you’re ready to serve, unwrap the cheese log and place it on your favorite serving platter. For an extra touch of sweetness and visual appeal, you can drizzle a little bit of honey over the top. Serve with an assortment of crackers, baguette slices, or even some apple or pear slices. This cheese log is fantastic served with crisp crackers that won’t compete with its flavors. Enjoy!
Conclusion:
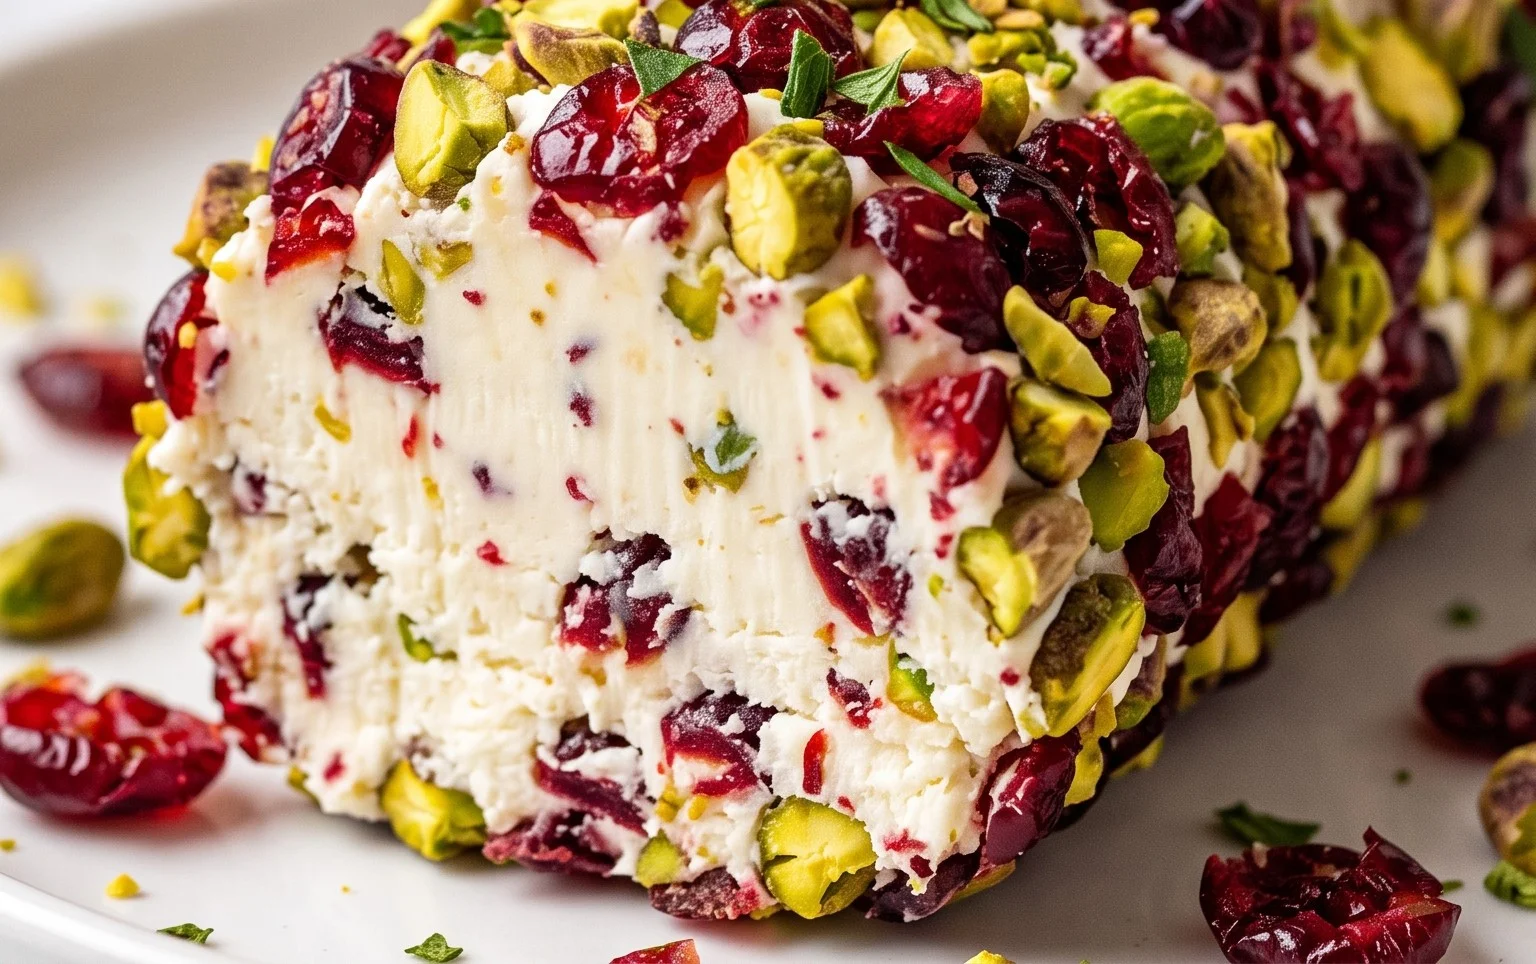
This Easy Cranberry Pistachio Cheese Log truly is a showstopper with minimal effort. It’s the perfect combination of creamy, tangy, tart, and crunchy that’s ideal for holiday parties, game days, or just a cozy night in. The festive colors make it a beautiful addition to any gathering. You can serve it with your favorite crackers, baguette slices, or even apple slices for a delightful contrast.
Don’t be afraid to experiment! You can swap out the pistachios for pecans or walnuts, or even add a pinch of cayenne pepper to the cheese mixture for a little heat. If cranberries aren’t in season, dried cranberries can work, though you might need to soak them briefly. This cheese log also keeps well, making it a fantastic make-ahead appetizer.
Frequently Asked Questions:
Can I make the Cranberry Pistachio Cheese Log ahead of time?
Yes, absolutely. You can prepare the entire cheese log up to two days in advance. Wrap it tightly in plastic wrap and store it in the refrigerator. It’s best to add the final coating and let it sit for about 15-20 minutes at room temperature before serving, so the cheese is easier to spread.
What should I serve with the cheese log?
Serve it with an assortment of crackers (water crackers, whole wheat crackers, or artisan crackers work well), crusty baguette slices, apple slices, pear slices, or even some celery sticks for a refreshing crunch.
How long does the cheese log last?
When stored properly in the refrigerator, tightly wrapped, the cheese log will last for about 3-4 days. The flavors tend to meld and deepen over time.
Easy Cranberry Pistachio Cheese Log
A festive and flavorful cheese log perfect for holiday entertaining, featuring tart cranberries, crunchy pistachios, and creamy cheeses infused with warm spices.
Ingredients
-
1 1/4 cups fresh cranberries
-
1 cup shelled roasted, salted pistachios
-
7-8 oz. goat cheese log or tub
-
4 oz. cream cheese, softened
-
2 tablespoons honey
-
1/4 tsp ground ginger
-
1/4 tsp ground cinnamon
-
1/4 tsp salt
-
1/4 tsp dried thyme
-
1/4 tsp dried rosemary
-
1/8 teaspoon pepper
-
1/2 cup Cranberry Pistachio Coating mixture
Instructions
-
Step 1
Prepare the Cranberry Pistachio Coating mixture: In a food processor, pulse 1/2 cup fresh cranberries and 1/2 cup shelled roasted, salted pistachios until finely chopped but not pureed. Transfer to a shallow dish and set aside. -
Step 2
In a medium bowl, combine the softened goat cheese and cream cheese. Beat with an electric mixer until smooth and well combined. -
Step 3
Add 2 tablespoons of honey, ground ginger, ground cinnamon, salt, dried thyme, dried rosemary, and pepper to the cheese mixture. Mix until thoroughly incorporated. -
Step 4
On a piece of plastic wrap, shape the cheese mixture into a log, approximately 6-8 inches long. You can also shape it into a ball if preferred. -
Step 5
Roll the cheese log gently in the prepared Cranberry Pistachio Coating mixture, ensuring it is evenly coated on all sides. -
Step 6
Wrap the coated cheese log tightly in plastic wrap and refrigerate for at least 1 hour to allow it to firm up and the flavors to meld. For a slightly more pronounced honey flavor, you can drizzle a bit more honey over the top before serving.
Important Information
Nutrition Facts (Per Serving)
It is important to consider this information as approximate and not to use it as definitive health advice.
Allergy Information
Please check ingredients for potential allergens and consult a health professional if in doubt.